Lecture 1 — Introduction to the Web & Paired Tags
Lecture 1 — Introduction to the Web & Paired Tags⌗
Instructor: Laksh Budhrani
The Problem Statement⌗
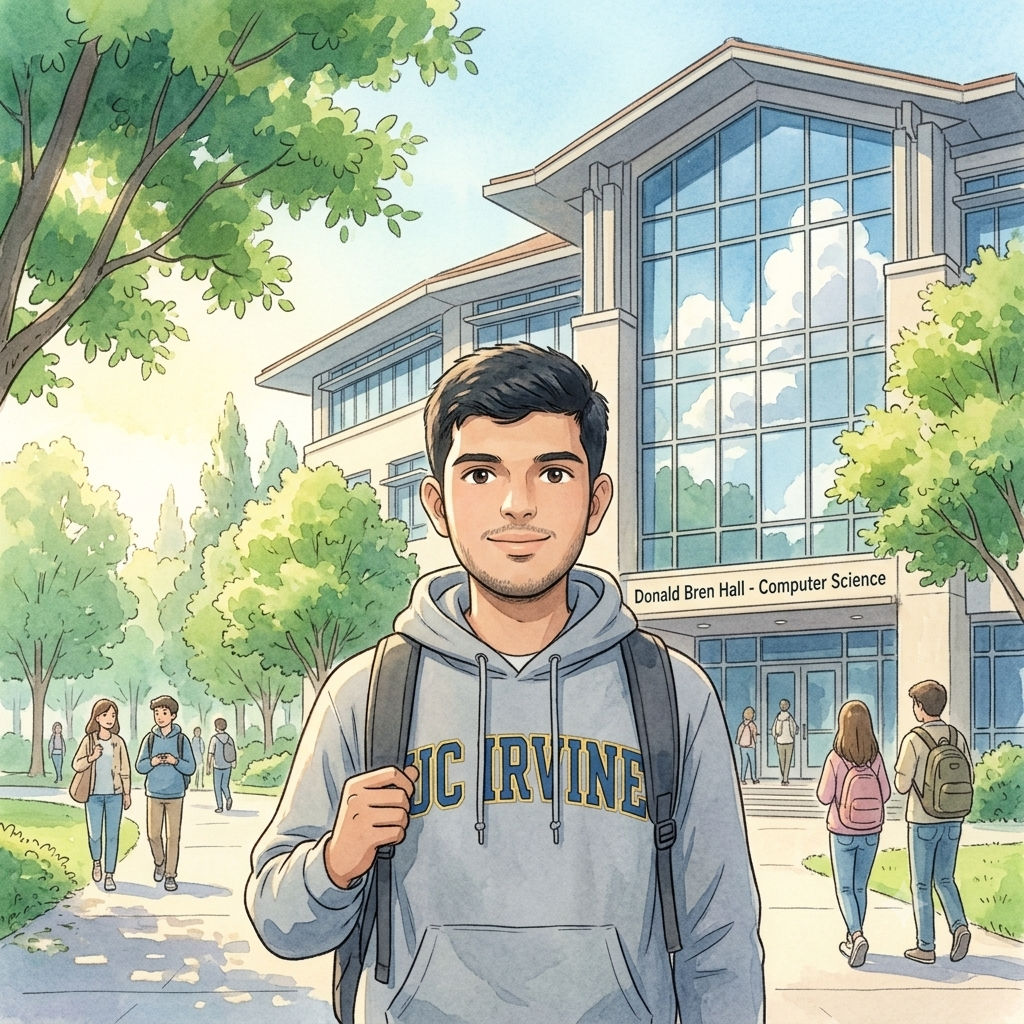
Meet Sahil!
Sahil is a brand-new freshman at UC Irvine. He’s excited, nervous, and trying to figure out college life. He loves animated movies, plays chess, loves swimming, listens to lo-fi music, and dreams of becoming a CS Researcher.
He wants a place where he can share his experiences, stay organized, write updates, make new friends, and post memories. He needs a website — and you are going to help him build it!
Sahil’s Request for Today⌗
“Hey everyone! I’m Sahil, and I just moved into my dorm at UC Irvine. Honestly, college feels a bit overwhelming already, but I really want a central place online to document my journey, introduce myself to people on campus, and share what I’m into.”
“Since I don’t know how to build a website yet, I wrote down what I want on my homepage. I just need it to feel personal and clear:”
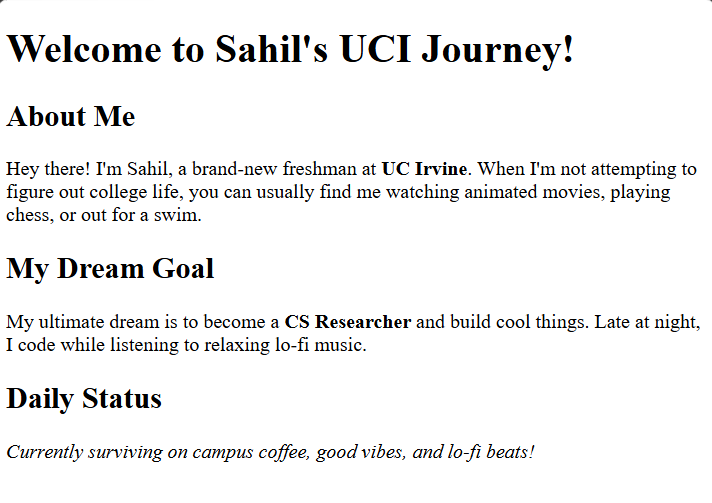
- Main Heading: An unmistakable heading at the top that says “Welcome to Sahil’s UCI Journey”.
- About Me Section: A short paragraph explaining who I am — a CS freshman who loves animated movies, plays chess, swims, and listens to lo-fi music late at night while studying.
- My Big Goal: A quick paragraph about my dream of becoming a CS Researcher. I want the phrase “CS Researcher” to stand out in bold so anyone visiting immediately knows what I’m working toward.
- A Personal Note: A final short sentence sharing my current mood or daily motto in italics (like “Currently surviving on campus coffee and lo-fi beats”) to give the page a relaxed, personal vibe.
Before we write code, let’s explore why websites exist and how browsers display them.
Objectives⌗
- Discover why the world needed websites
- Uncover what a web browser actually does
- Understand what HTML is
- Learn how paired tags organize web content
- Learn basic paired tags and use them to build Sahil’s homepage
Objective 1 — Why the World Needed Websites⌗
Imagine a world where you could write a document on your computer, but nobody else on Earth could see it unless they came to your room.
In the 1980s:
- Computers existed
- The Internet existed
- …but there was no World Wide Web!
There were no blogs, no Google, no Wikipedia, and no way to share live pages globally. The world desperately needed a digital public bulletin board where anyone, anywhere, could publish information for everyone to read.
Objective 2 — The Web Browser⌗
In 1989, a scientist named Tim Berners‑Lee solved this problem by inventing two magical things: the first Web Server and the first Web Browser.
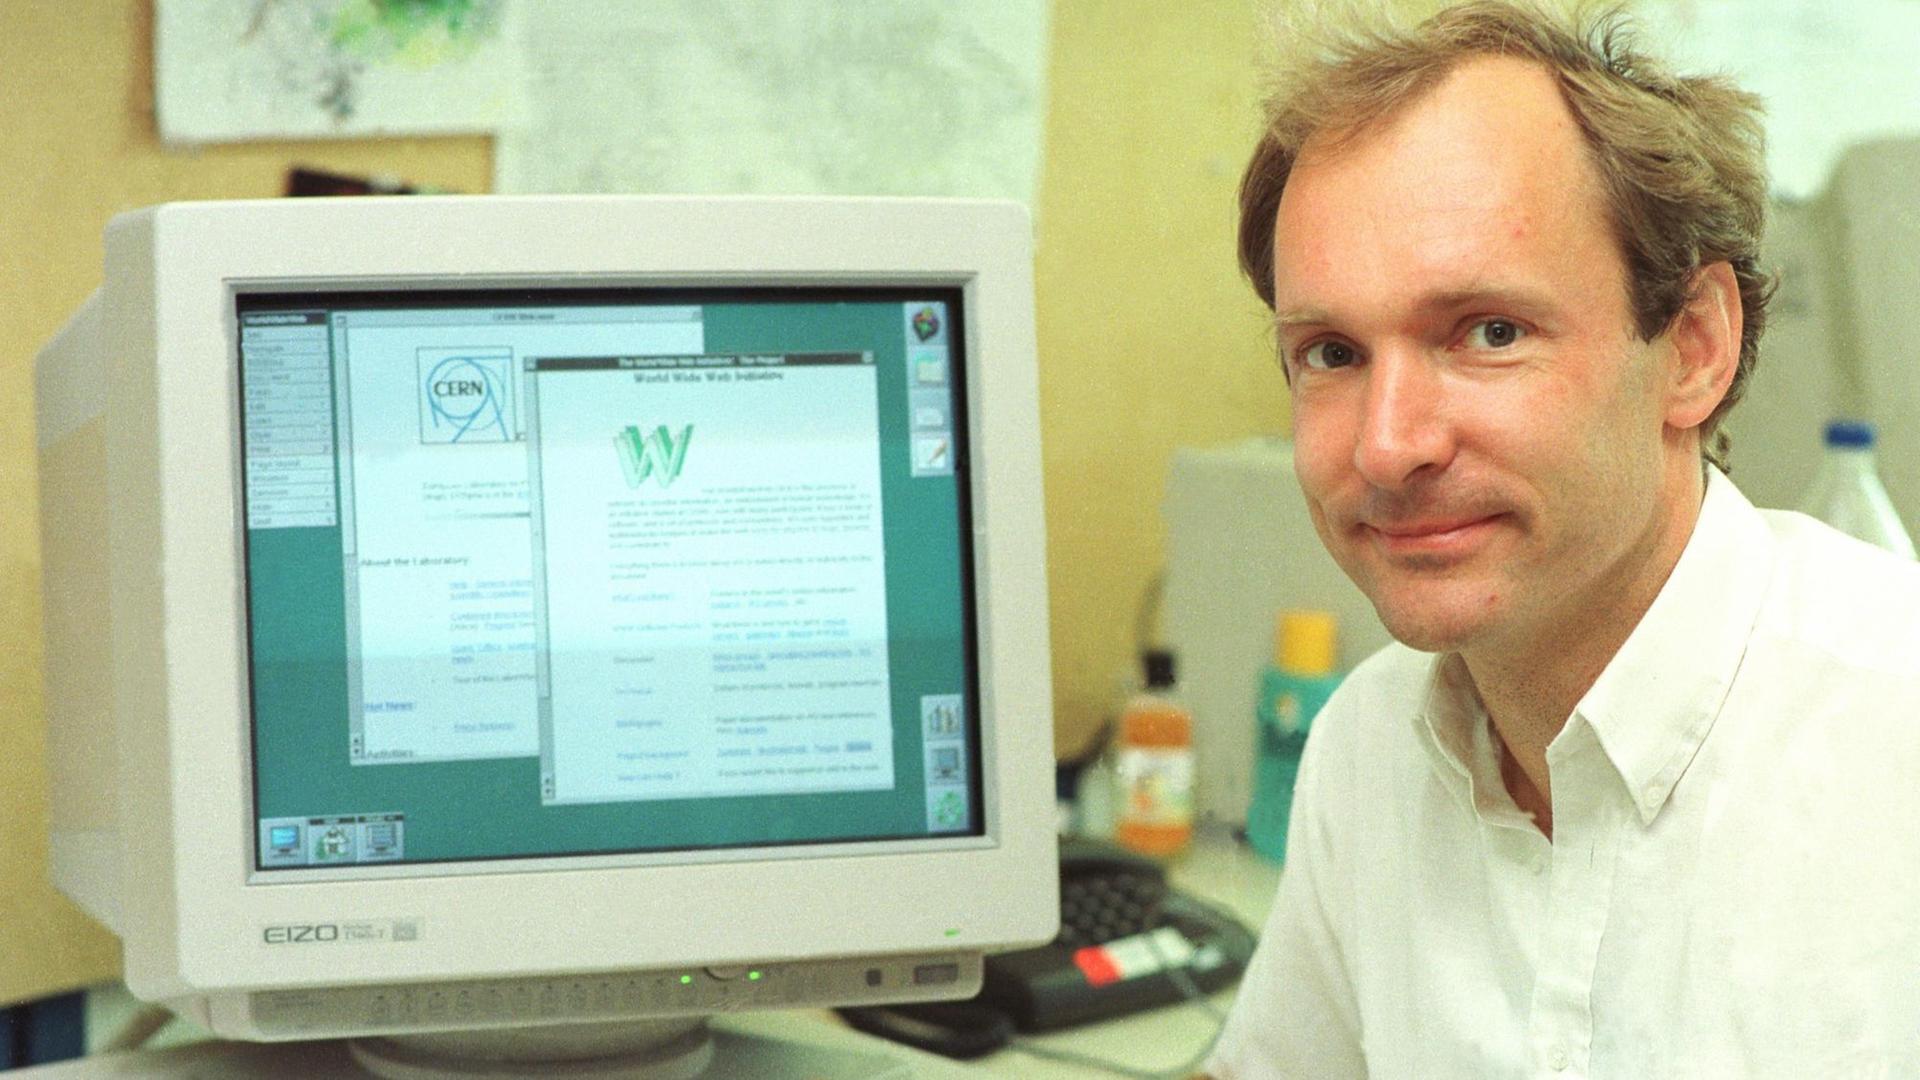
A web browser (like Chrome or Safari) acts like an interpreter: it reads hidden files from a server across the globe and turns them into visual pages you can interact with!
🔗 Check it out: Click here to see the first website ever created!
Objective 3 — What Is HTML?⌗
To make browsers display pages properly, Tim Berners-Lee created HTML (HyperText Markup Language).
HTML isn’t a programming language that makes things “think”; it’s a markup language that defines structure. It tells the browser:
- “Hey, this piece of text is a main heading!”
- “This part is just a regular paragraph.”
- “Make these words bold so they stand out!”
Every single website on the planet relies on HTML.
Objective 4 — Why HTML Uses Tags⌗
How does a browser know where a heading starts and ends? Tags!
Think of tags as digital sticky notes attached to text. Most HTML elements use paired tags: an opening tag to turn a style ON, and a closing tag (with a /) to turn it OFF.
<opening_tag> Content goes here </closing_tag>
Today, we are mastering 4 essential paired tags!
Objective 5 — Paired Tags We Will Use Today⌗
5a — Headings⌗
Simple Definition⌗
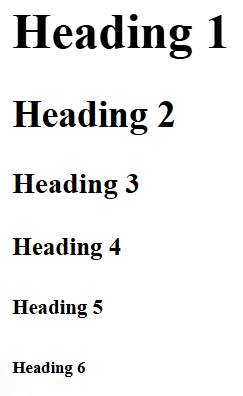
Headings create bold structure on a page. They come in 6 sizes, from largest (<h1>) to smallest (<h6>).
Example⌗
<h1>Heading 1</h1>
<h2>Heading 2</h2>
<h3>Heading 3</h3>
<h4>Heading 4</h4>
<h5>Heading 5</h5>
<h6>Heading 6</h6>
5b — Paragraphs⌗
Simple Definition⌗
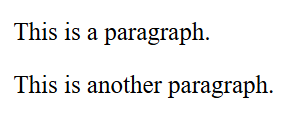
Paragraphs (<p>) group sentences into clean blocks of text. Use them for descriptions and normal reading text.
Example⌗
<p>This is a paragraph.</p>
<p>This is another paragraph.</p>
5c — Bold Text⌗
Simple Definition⌗
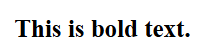
The <b> tag makes important words stand out by making them bold.
Example⌗
<b>This is bold text.</b>
5d — Italics⌗
Simple Definition⌗
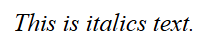
The <i> tag slants text into italics, adding stylistic emphasis or tone.
Example⌗
<i>This is italics text.</i>
Guided Activity — Build Sahil’s Homepage⌗
PART 1 — Project Setup⌗
1. Create your class folder⌗
- Go to your Desktop.
- Create a main folder named:
WD_BlockX_2026(e.g.,WD_BlockB_2026). - Inside that main folder, create two sub-folders:
Sahil_Project(for class activities)Portfolio(for independent work)
2. Open VS Code⌗
- Open VS Code.
- Click File → Open Folder and select
Sahil_Project.
3. Create your HTML file⌗
- Create a new file named
index.html.
PART 2 — Expected Browser Output⌗
Here is what Sahil’s completed homepage will look like once we write the HTML together:
PART 3 — Writing the Code⌗
Copy and paste this base template into index.html, then write your HTML tags inside the marked area:
<!DOCTYPE html>
<html>
<head>
	<title>Sahil's Website</title>
</head>
<body>
	<!-- START WRITING HERE -->


	<!-- STOP WRITING HERE -->
</body>
</html>
Independent Activity — Build Your Portfolio Page!⌗
Now that you’ve helped Sahil set up his homepage, it’s time to build your own! You will create a portfolio page to introduce yourself to the class.
Instructions:⌗
- Open VS Code.
- Click File → Open Folder and open your
Portfoliofolder (located insideWD_BlockX_2026). - Create a new file named
portfolio_day1.html. - Copy and paste the HTML boilerplate into your file.
- Inside the
<body>tag, write your HTML code using only<h1>,<p>,<b>, and<i>tags based on the prompt below.
Your Portfolio Prompt⌗
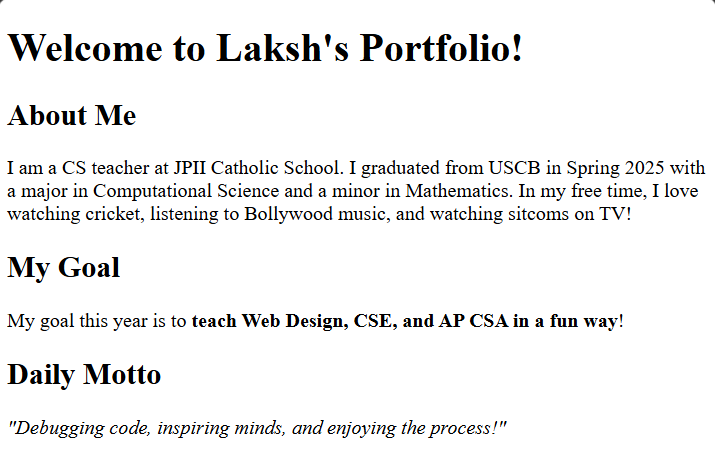
Write your HTML page to include the following 4 elements (customized with your own real details!):
- Main Heading (
<h1>): A welcome title with your name (e.g.,Welcome to [Your Name]'s Portfolio). - About Me Paragraph (
<p>): Write 2–3 sentences introducing yourself, including your grade, favorite hobbies, or something unique about you. - Your Dream Role (
<p>&<b>): Write a short sentence about a goal, dream job, or skill you want to master this year, putting the key phrase in bold using<b>. - Daily Motto (
<i>): End your page with a fun status or motto in italics using<i>.
Example Solution⌗
Submission Instructions⌗
Submit your work in Google Classroom under In‑Class Exercise 1 by completing the following:
- Create a new Google Doc.
- Paste your code: Copy and paste the complete HTML code from both files (
Sahil_Project/index.htmlandPortfolio/portfolio_day1.html). - Add screenshots: Open both
.htmlfiles in your web browser, take a screenshot of each rendered page, and insert them into your document. - Click Turn In!
Summary: Tags Learned Today⌗
| Tag | Name | What It Does | Example |
|---|---|---|---|
<h1> – <h6> | Heading | Creates headings of different sizes | <h1>Heading</h1> |
<p> | Paragraph | Groups text into structured blocks | <p>Text here...</p> |
<b> | Bold | Emphasizes text in bold | <b>Important</b> |
<i> | Italics | Slants text in italics | <i>Stylized note</i> |