Lecture 6 — Standalone HTML Challenge: Choose Your Own Project!
Lecture 6 — Standalone HTML Challenge: Choose Your Own Project!⌗
Instructor: Laksh Budhrani
Quick Recall: Lectures 1–5 Review⌗
Before we begin our project, let’s review all the tags and attributes we’ve mastered so far!
| Tag | Associated Attributes | Type | Purpose | Example |
|---|---|---|---|---|
<h1> – <h6> | None | Paired | Headings of different sizes | <h1>Heading</h1> |
<p> | None | Paired | Text paragraph block | <p>Paragraph</p> |
<b>, <i>, <u> | None | Paired | Bold, Italics, Underline | <b>Bold</b>, <i>Italic</i>, <u>Underline</u> |
<mark>, <s> | None | Paired | Highlight, Strikethrough | <mark>Highlight</mark>, <s>Strike</s> |
<sup>, <sub> | None | Paired | Superscript, Subscript | 1<sup>st</sup>, H<sub>2</sub>O |
<!-- --> | None | Special | Hidden code notes/comments | <!-- Note --> |
<hr>, <br> | None | Unpaired | Horizontal rule divider, Line break | <hr>, <br> |
<img> | src, alt, width, height | Unpaired | Displays an image | <img src="pic.jpg" alt="Pic" width="200"> |
<a> | href, target (_blank / _self) | Paired | Creates clickable hyperlink | <a href="https://..." target="_blank">Link</a> |
<ul> | None | Paired | Creates an unordered (bulleted) list | <ul>...</ul> |
<ol> | None | Paired | Creates an ordered (numbered) list | <ol>...</ol> |
<li> | None | Paired | Defines an individual list item inside <ul> or <ol> | <li>Item</li> |
Class Check-In: Does anyone have questions about any of these tags before we jump into our assignment?
Workspace Setup (First Steps!)⌗
Before writing any code, let’s create a dedicated folder for all your class assignments:
- Open File Explorer (Windows) or Finder (Mac).
- Navigate inside your main class folder:
WD_BlockX_2026. - Create a new folder inside it named:
Assignments. - Open VS Code.
- Go to File ➜ Open Folder… and select your new
Assignmentsfolder. - Create a new file inside this folder named:
assignment1.html.
Goal for Today⌗
Today is Project Day! There are no new tags to learn today. Instead, you will apply everything you’ve mastered in Lectures 1–5 to build a standalone web page from scratch.
Pick ONE of the four project options below to build inside assignment1.html!
Pick Your Project Theme⌗
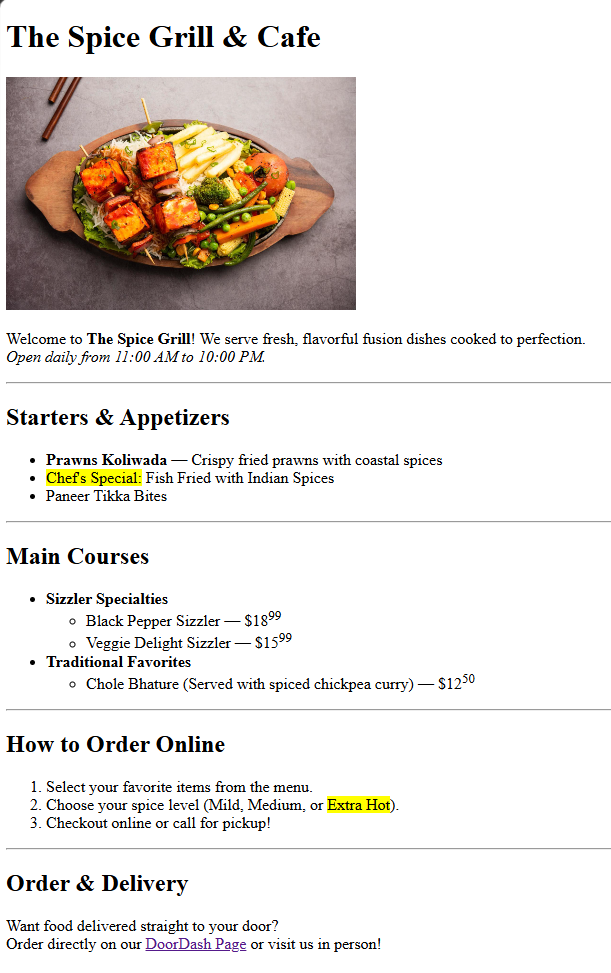
Option 1: “Design a Restaurant / Food Truck Menu”⌗
Build a modern, appetizing menu website for your dream restaurant, food truck, or dessert cafe.
<h1>/<h2>: Restaurant name and menu categories (Appetizers, Mains, Drinks).<img>: Featured dish photo withsrc, descriptivealt, and cleanwidth.- Formatting Tags: Highlight chef specials (
<mark>), spicy warnings (<b>), or prices ($12<sup>99</sup>). <ul>: Ingredients or dietary notes (Unordered List).<ol>: Step-by-step ordering process or delivery steps (Ordered List).- Nested List: Food categories with options (e.g., Drinks ➜ Soda flavor choices).
<a>: Clickable link to DoorDash, Yelp, or Google Maps opening in a new tab (target="_blank").
Example Visual Output Inspiration⌗
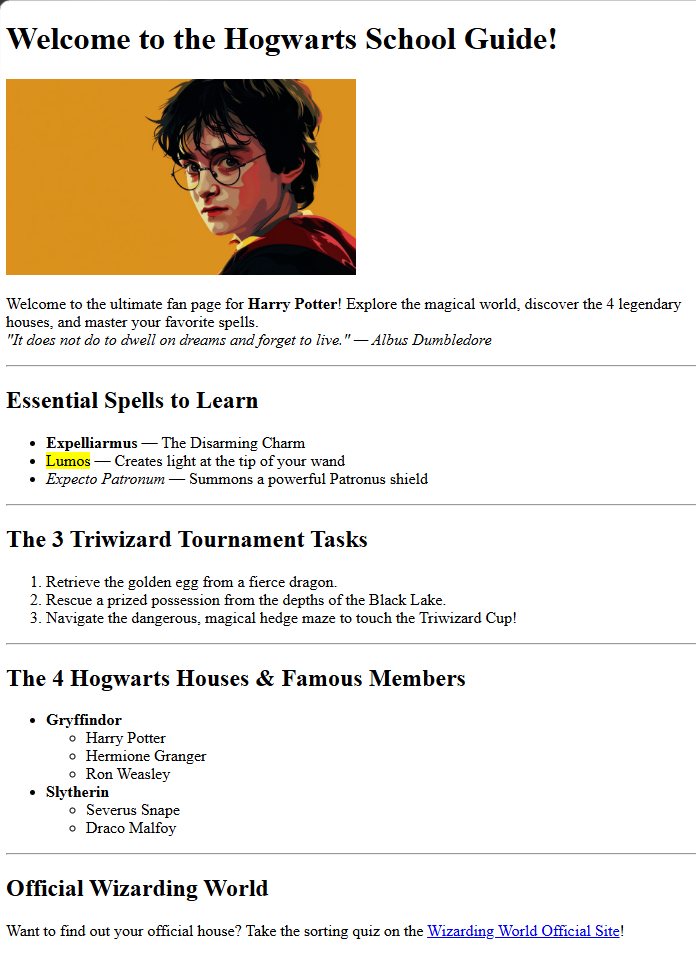
Option 2: “Build a Fan Page / Video Game Guide”⌗
Create an ultimate fan page or strategy guide for your favorite video game, superhero, movie, or musical artist.
<h1>/<h2>: Game title / artist name and page sections (Overview, Stats, Top Songs).<img>: Character banner, game cover, or album art.- Formatting Tags: Highlighting power stats (
<mark>), secret codes (<u>), or release dates (<i>). <ul>: Character abilities, weapons, or tracklist (Unordered List).<ol>: Ranked top 5 moments, level walkthrough steps, or top songs (Ordered List).- Nested List: Game platforms ➔ Console types or Albums ➔ Favorite tracks.
<a>: Clickable link to official trailer, Wiki page, or Spotify (target="_blank").
Example Visual Output Inspiration⌗
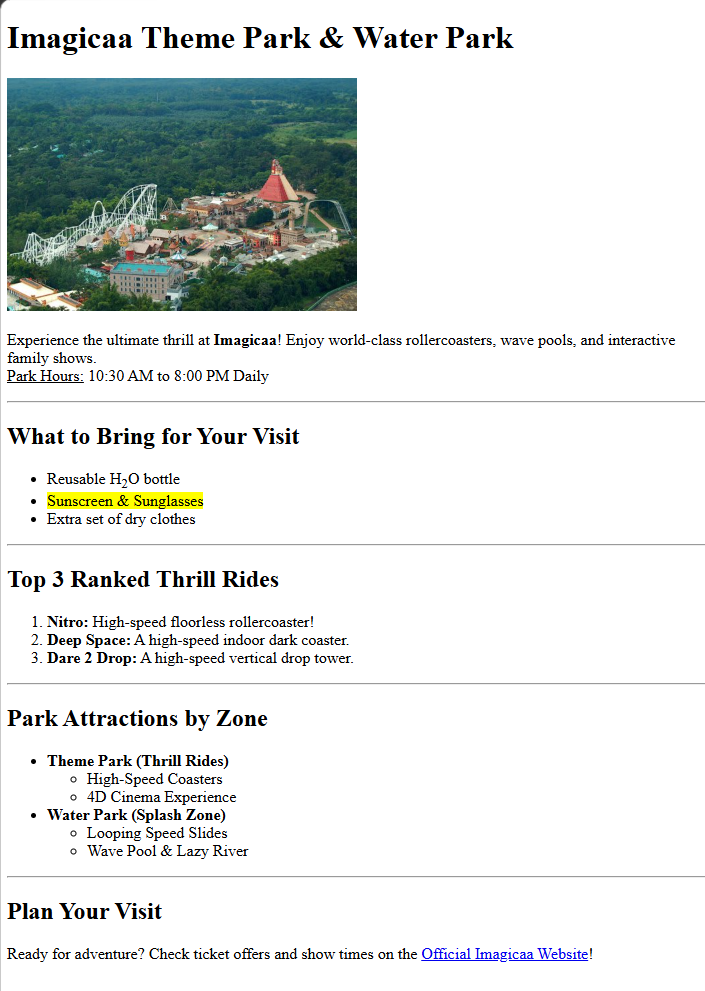
Option 3: “Theme Park / Event Flyer Page”⌗
Design a vibrant web flyer for an upcoming event (e.g., Music Festival, Gaming Tournament, School Carnival, or Amusement Park).
<h1>/<h2>: Event name and sections (Schedule, Ticket Info, Venue Rules).<img>: Official event poster or attraction image.- Formatting Tags: Highlight ticket perks (
<mark>), event dates (<b>), or VIP tiers (<i>). <ul>: What to bring / Park guidelines (Unordered List).<ol>: Daily event timeline / schedule of events (Ordered List).- Nested List: Pass options ➔ Included perks (e.g., General Admission ➜ Free Parking).
<a>: Clickable link to “Buy Tickets” or venue location on Google Maps (target="_blank").
Example Visual Output Inspiration⌗
Option 4: “Wildcard Choice — Your Own Passion Project!”⌗
Have a different idea you’re passionate about? You can build a custom page on any topic you like (e.g., Sports Team, Hobby Showcase, Book Guide)!
- ⚠️ Requirement: You MUST get teacher approval (Mr. Laksh) on your idea before you start!
- Your custom page must require the exact same effort and meet all requirements from the checklist below.
Required Toolkit Checklist (All Projects)⌗
Regardless of which option you choose, your assignment1.html file must include:
- Proper HTML Structure:
<!DOCTYPE html>,<html>,<head>,<title>, and<body>. - Headings: At least 1
<h1>(Main Title) and at least 3<h2>tags (Sub-sections). - Image: At least 1
<img>tag usingsrc,alt, andwidth. - Text Formatting: At least 3 different formatting tags (
<b>,<i>,<u>,<mark>,<s>,<sup>, or<sub>). - Unordered List (
<ul>): A bulleted list with at least 3 items. - Ordered List (
<ol>): A numbered list with at least 3 items. - Nested List: A list with at least 1 sub-category.
- External Link (
<a>): A link withhrefandtarget="_blank"to open in a new tab. - Cleanliness: Use
<hr>dividers between major sections and include at least 2 code comments (<!-- Note -->).
Starter Template (assignment1.html)⌗
Copy this template into your assignment1.html file to start:
<!DOCTYPE html>
<html>

<head>
    <title>Assignment 1 — My Challenge Project</title>
</head>

<body>
    <!-- ==================== START CODE HERE ==================== -->


    <!-- ==================== STOP CODE HERE ==================== -->
</body>

</html>
Submission Instructions⌗
Submit your work in Google Classroom under Assignment 1 by:
- Opening your Google Doc for Assignments.
- Pasting your complete code from
assignment1.html. - Adding a screenshot of your rendered web page from your browser.
- Turning in the document!